

Sunday, July 24, 2011
Fairy in Technicolor!
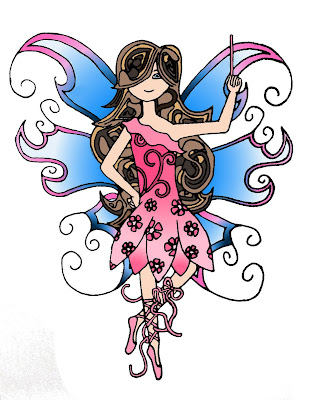
Okay, not really. But I had fun digitally coloring her yesterday. Still haven't done the actual watercolor, as I am still figuring out exactly what I want her to look like. I might try another digital rendering of her as a blond fairy, or maybe with black hair, but we'll see!
Saturday, July 23, 2011
Zentangle Challenge
I recently discovered a "new" art form that I am having a lot of fun with! Basically it's the idea of using repetitive strokes to create a pattern, filling empty spaces with beauty. You can find out more about Zentangle here.
So in my quest for inspiration, I came across the diva's blog, where she challenges Zentanglers everywhere to break outside the box and think--and tangle--creatively. I took the recent challenge which was to create a Zentangle fit for a fairy. And since I couldn't sleep last night, I extended it to drawing a fairy and clothing her in tangles.
 Do you see the fairy peeking out of her favorite gumball tree?
 I transferred her over to some watercolor paper, and I'll be painting her soon...
Monday, July 11, 2011
Proverbs 14:1

I was reading Proverbs 14 with a friend this afternoon and this first verse struck me. Building my house is now my responsibility, and I need to take the responsibility to do so. It won't just happen on its own. I have to be purposeful and determined to build up my house.
It's the difference between taking the hour before Mr. Galaxy comes home to straighten up the clutter, change into a becoming outfit, put on some relaxing music, and meet him at the door with a kiss and smile ... or ... leaving the clutter, staying on the couch with my book or computer and saying "hi" with just a glance when he comes in. Which one will build him up?
The fear of the Lord is the beginning of wisdom, so if I want to build my house, then I need to fear the Lord. It's as easy as being the right one instead of looking for the right one. As I learn to be the woman that God wants me to be, the wife He wants me to be, eventually the mother He wants me to be, then He will take care of the other people in my life, my husband, and eventually my children.
If I leave this up to chance then I am foolish indeed.
Little Treasure Bags

So I got my girls necklaces as their bridesmaid gift, so I was trying to come with a creative way to wrap it up. So I came up with this little bag idea...it's SUPER easy, SUPER fast, and SUPER cute!
Materials:
1/4 yard of desired material (actually you only need 1/4 yd. x about 3 inches, so fabric scraps work, but it's super easy to get 1/4 yard from the store, then cut a 3 in. strip off and you can get about 10 out of 44-45" material)
Thread
Piping
Ribbon in coordinating color
Instructions:
1. Fold material in half and pin one side with right sides together.
2. Start sewing from the top (not the fold) and sew about an inch down, then skip about a half inch and finish sewing down to the bottom fold. I usually reinforce the top and the begining/end of the longer seam.
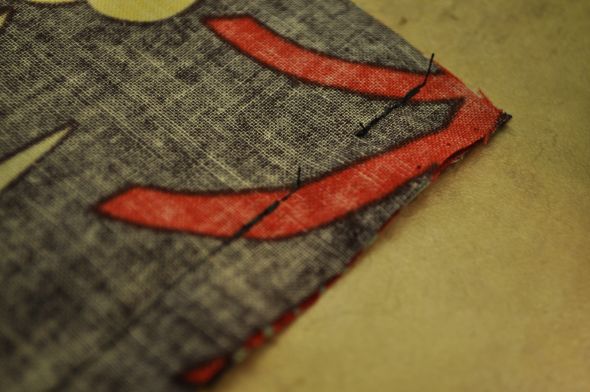
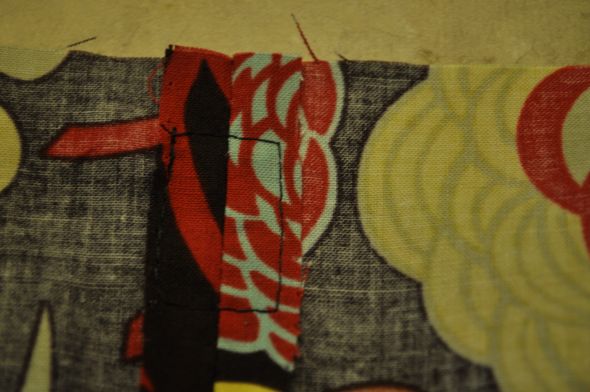
3. Press open that seam. You can then sew a box around the gap that you left with the seams open to reinforce (this step is optional).

4. Pin the other side together and sew all the way down, leaving no gaps.
5. Take your piping and wrap around the top of the bag and insert the ends in through the hole and pull through. Fold the material over the piping and pin.
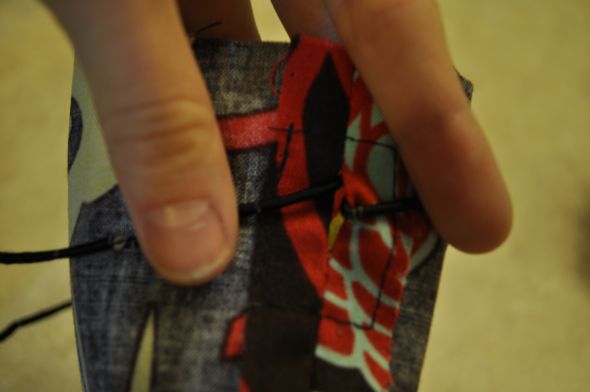
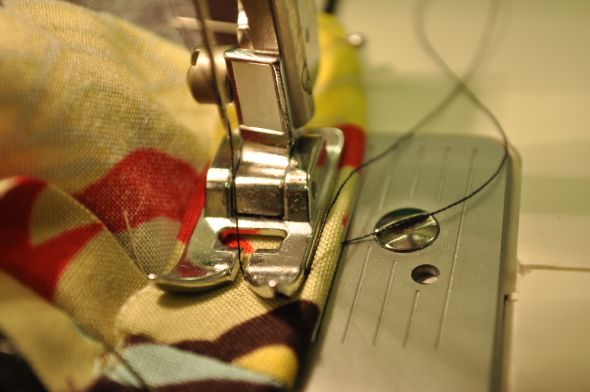
6. Sew a seam around the top of the bag. By using piping you can put the piping beside your sewing foot and it will make a really even seam all the way around. I usually sew around two times just to keep it a strong seam.
7. Pull the bag right side out.
8. Tie your ribbon to the piping and pull the ribbon through the pocket you made with the piping. So now the piping is out and the ribbon is in.

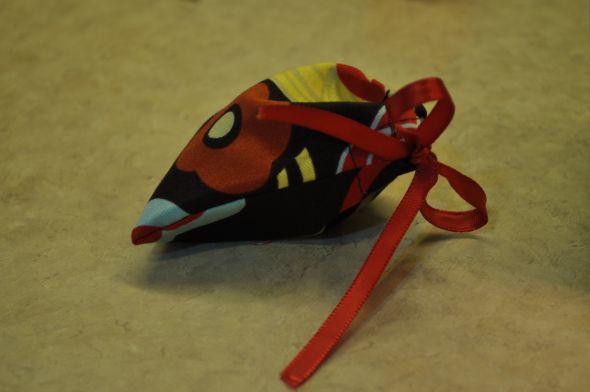
9. Voila! Add necklace (or other small gift) and tie a bow with the ribbon!
Subscribe to:
Posts (Atom)